
Hubstaff now integrates with Zapier to improve productivity by automating the way you work. Zapier is an integration hub that allows different products to talk to each other and automate actions across both platforms.
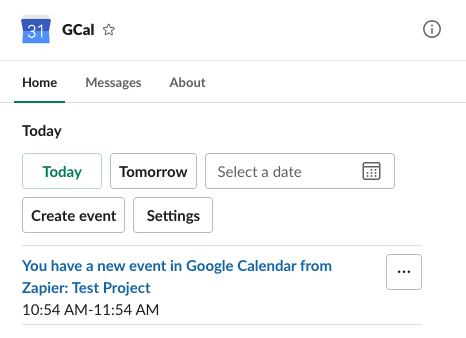
A sample calendar entry created by a Zapier Zap in Google Calendar when a new project is created in Hubstaff.
There are two ways you can use our Zapier integration: Export triggers are actions from Hubstaff that trigger an event in another app. Import triggers are actions from another app that triggers an event in Hubstaff.
Google Calendar
Create events in Google Calendar for Hubstaff shifts
This feature works with Hubstaff Schedules and is available on Premium plans and up.
Step 1
On your Zapier homepage, click on Make a Zap/Create Zap.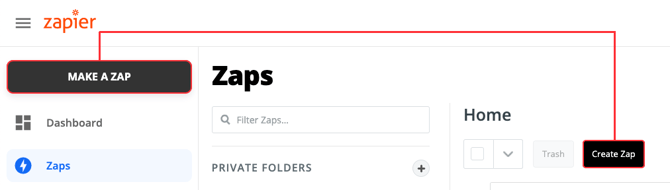
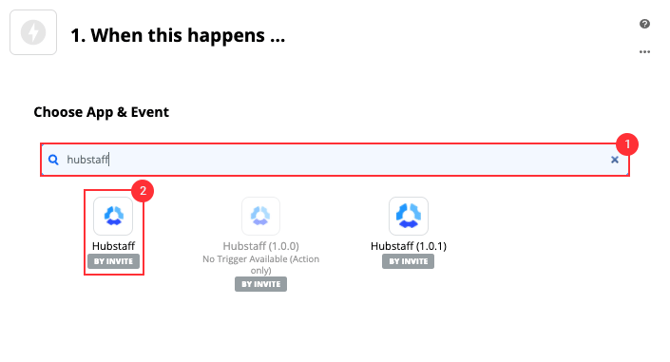
Step 2
On the Choose App & Event field, type in Hubstaff then choose Hubstaff from the available options below.
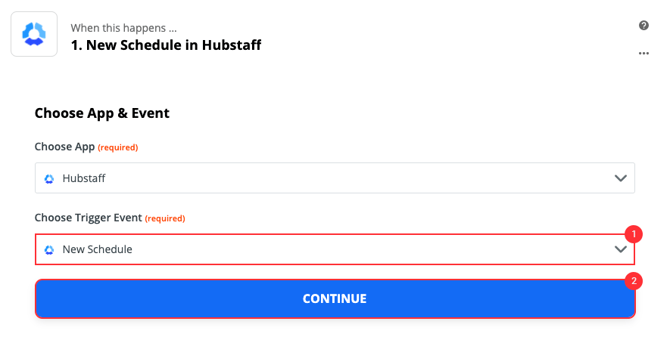
Step 3
Choose the schedule triggers. Below are the available triggers:
- New Schedule – triggers the action when a new shift schedule is set.
- Schedule Updated – triggers the action when a schedule is updated.
- Schedule Deleted – triggers the action when a schedule is removed.
Step 4
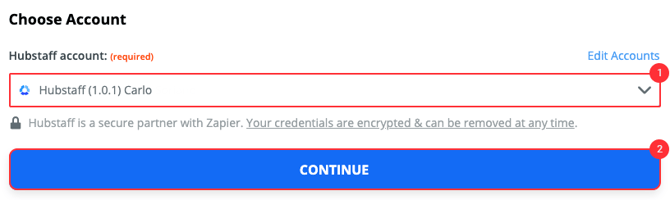
Choose your Hubstaff account.
Step 5
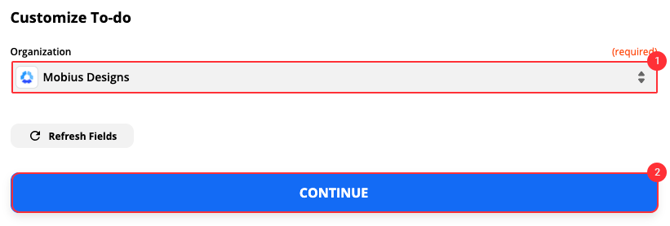
Choose your Hubstaff organization.
Step 6
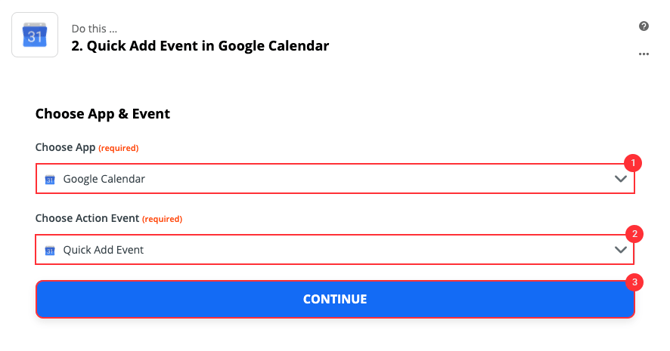
Choose Google Calendar from the Apps, then choose an Action Event:
- Quick Add Event – adds a basic calendar event when triggered.
- Create Detailed Event – adds a detailed calendar event when triggered.
- Update Event – updates an existing event when triggered.
- Add Attendees to Event – add people to an event when triggered.
- Delete Event – delete an event when triggered.
- Create Calendar – adds a new calendar in Google Calendar.
Step 7
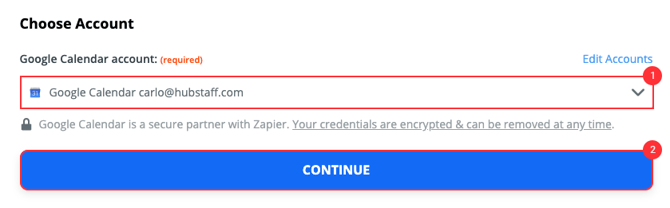
Choose your Google Calendar account.
Step 8
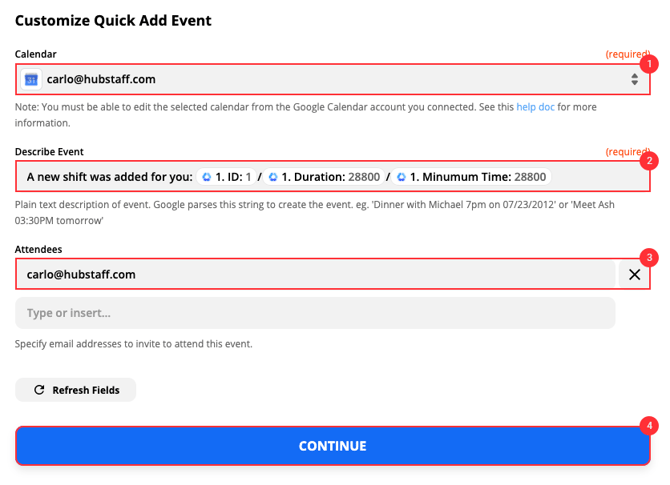
Configure your event. You may see different options here depending on the Action Event you chose in Step 6. Hit Continue when you’re done.
Step 9
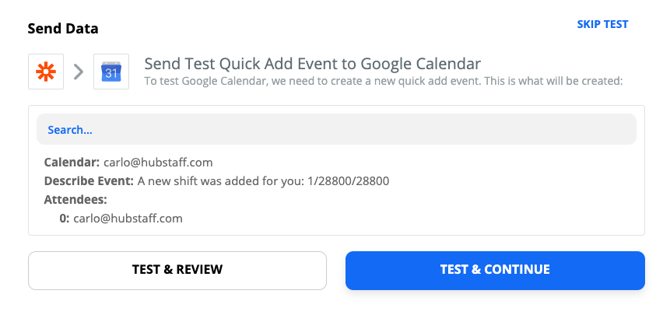
Click Test and Continue or Skip Test if you don’t wish to test the Zap. Turn the Zap on to finish the setup.
Step 10
A calendar event will be created in Google Calendar once the action event is triggered.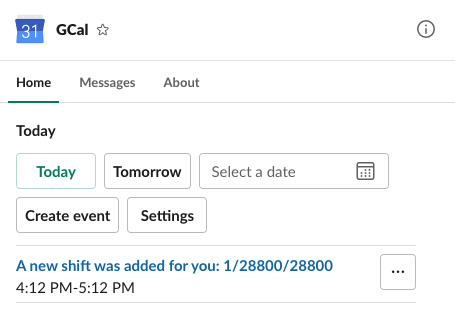
Want real-time responses? Explore Sidekick, your 24/7 guide for product inquiries!