
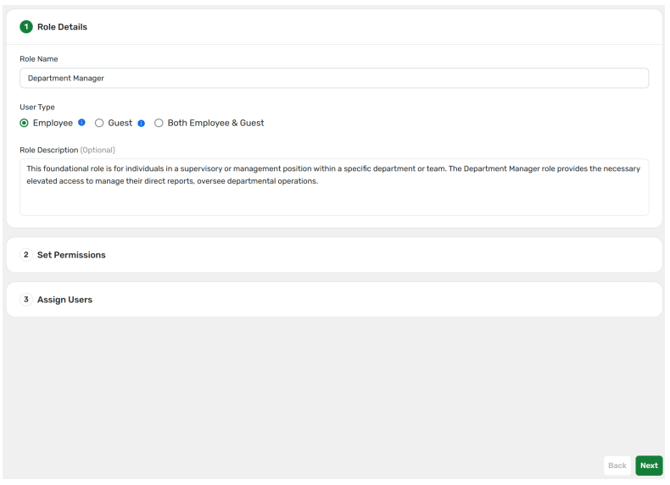
Step 1: In the Role Details landing page, click the “Create Role” button

Step 2: Continue to input the Role Name, User Type, and Role Description. Note the Role Name must be the same with other roles. Once you’ve provided all details for the Role you can proceed with the next steps and click “Next”.
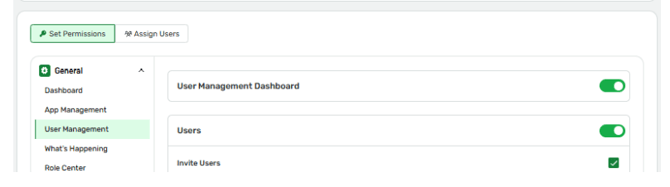
Step 3: After clicking next, you can now setup the permissions for this role. Note each application will have default permissions for a new role which follows the “least privilege” principle where only the most basic permissions are allowed for a user with the least privilege to interact within the Sprout products.
Note: Once you click “Next” button, the role will have been created even if you stop your creation process. If you stop the creation process, the role just not be assigned yet to any users and will only have the default permissions set.
Step 4: Proceed to setting up the permissions to the new role. Same steps apply as with the section above in this User Guide for “Setting of Permissions”.
Step 5: Then click the “Next” button once done.
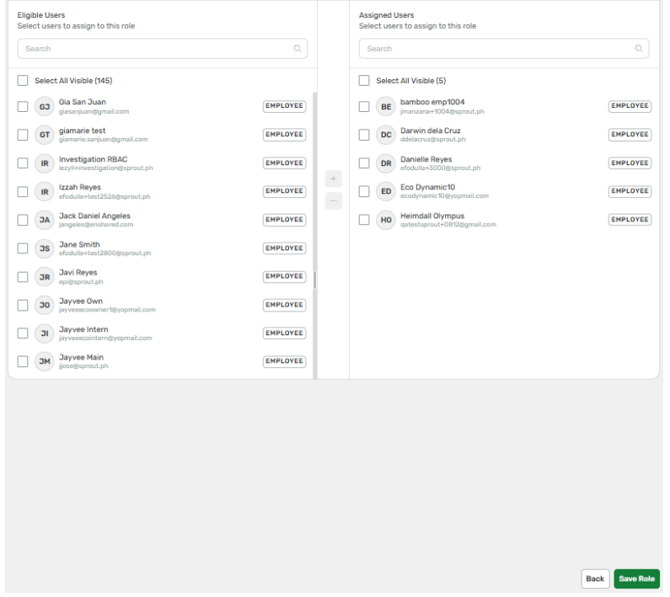
Step 6: Proceed to assigning of the role to multiple users. Same steps apply as with the section above in this User Guide for “Assigning of Users”.
Step 7: Then click the “Save Role” button once done.
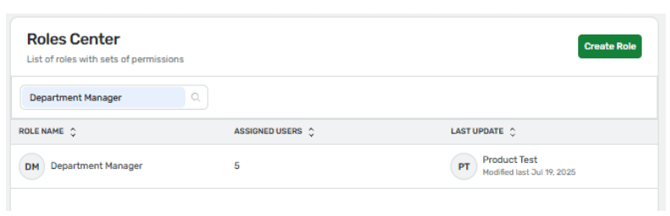
Step 8: Once saved, you can now search for the new role on the landing page.
Want real-time responses? Explore Sidekick, your 24/7 guide for product inquiries!